


Why Budget-Friendly Eco Upgrades Are Worth the Effort
I think a lot of people stall on making their homes more eco-friendly because they assume it requires a massive upfront investment. And sure, a full solar array or an electric vehicle charger isn’t cheap. But that’s not where most of us need to start.
The U.S. Department of Energy estimates that the average household spends over $2,000 a year on energy bills, and roughly 25–30% of that is wasted through inefficiencies, air leaks, outdated lighting, phantom power draw from electronics left plugged in. That’s potentially $500 to $600 a year just… gone.
Small eco home upgrades target exactly these leaks. They’re low-cost, often DIY-friendly, and they compound over time. Fix a draft this weekend, swap out your showerhead next weekend, and before you know it, your utility bills are noticeably lower. You’re also reducing your household’s carbon footprint without having to rethink your entire lifestyle.
What I love most is the momentum effect. Once you make one or two changes and see results on your next bill, you get motivated to keep going. It becomes a kind of positive feedback loop, spend a little, save a lot, feel good about it, do more.
Start With an Energy Audit to Find Your Biggest Savings
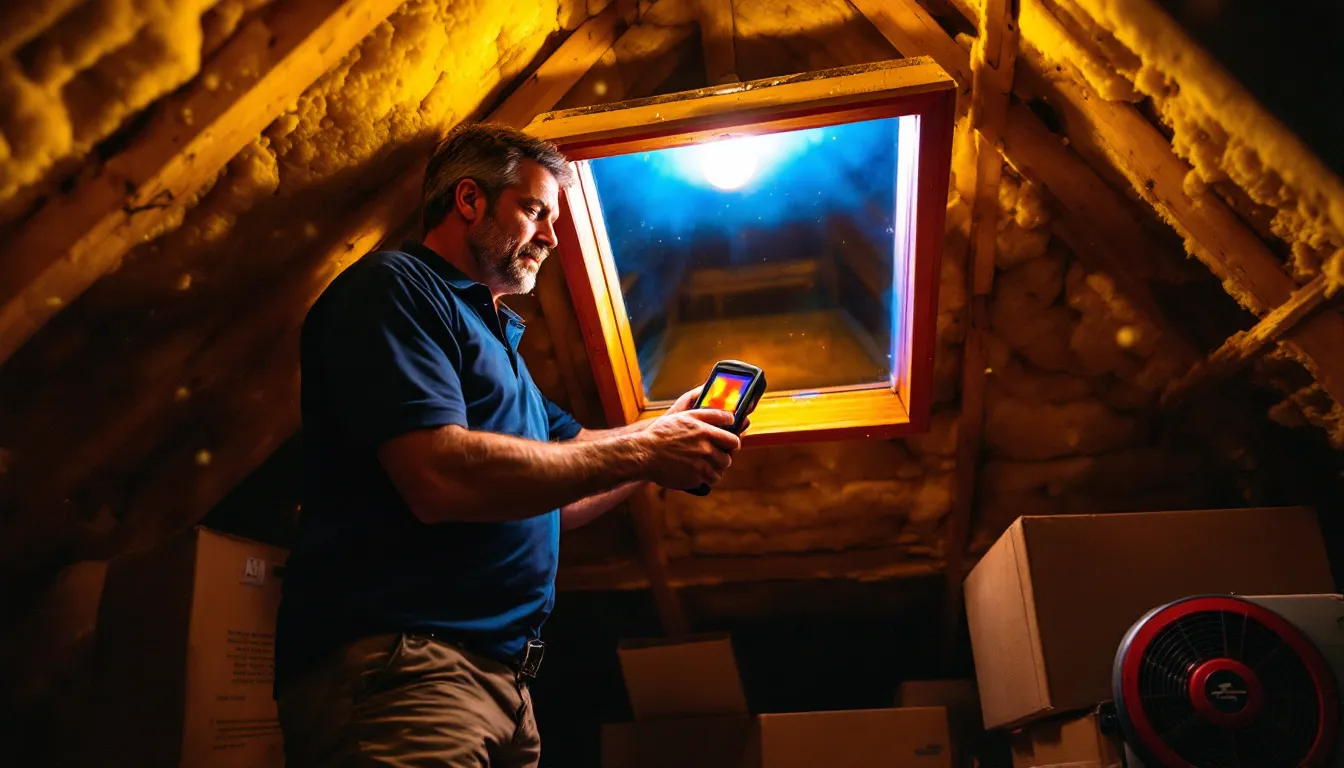
Before you spend a dime on upgrades, I’d recommend figuring out where your home is actually losing energy. An energy audit does exactly that, it’s like a diagnostic checkup for your house.
You’ve got two routes here. Many utility companies offer free or heavily subsidized home energy audits. A technician comes out, uses tools like a blower door test and thermal imaging camera, and identifies where your biggest inefficiencies are. It’s surprisingly revealing. When I had mine done, I discovered that my attic hatch was basically an open invitation for heated air to escape.
If a professional audit isn’t available in your area, you can do a DIY version. Walk through your home on a windy day and hold a lit incense stick near windows, doors, electrical outlets, and anywhere pipes or wires enter from outside. If the smoke wavers horizontally, you’ve found a leak. Check your utility bills over the past year too, unusual spikes often point to seasonal inefficiencies.
The point is, an audit helps you prioritize. Instead of guessing, you’re targeting the changes that’ll save you the most money first. That’s how budget-friendly eco upgrades actually stay budget-friendly.
Seal Air Leaks and Upgrade Insulation
Air leaks are, in my experience, the single biggest source of wasted energy in most homes. Your heating and cooling system can be top-of-the-line, but if conditioned air is escaping through gaps around doors, windows, and foundations, you’re essentially paying to heat (or cool) the outdoors.
The EPA estimates that sealing air leaks and adding proper insulation can save homeowners up to 15% on heating and cooling costs. For most families, that translates to $200 or more per year, from upgrades that might cost $50 to $100 in materials.
Weatherstripping Doors and Windows
Weatherstripping is one of the cheapest and most satisfying DIY projects you can tackle. A roll of adhesive-backed foam or V-strip weatherstripping costs a few dollars and takes maybe 20 minutes per door or window to install.
I like to start with exterior doors, since they tend to have the biggest gaps. Close the door and look for daylight around the edges, if you can see light, air is getting through. Peel-and-stick foam tape works well for irregular gaps, while door sweeps handle the bottom edge. For windows, rope caulk is a great temporary fix for older frames that don’t seal tightly.
Don’t overlook less obvious spots either. Attic hatches, basement doors, and the gaps around window-mounted air conditioners are all common culprits.
Affordable Attic and Crawl Space Insulation
If your home was built before the 1980s, there’s a decent chance your attic insulation is either inadequate or has settled over the years. Adding a layer of blown-in cellulose or unfaced fiberglass batts is a weekend project that pays for itself remarkably fast.
For attics, the Department of Energy recommends R-38 to R-60 insulation for most climate zones. If you can see the floor joists when you peek into your attic, you probably need more. Home improvement stores often rent insulation blowers for free or cheap when you buy their insulation, I’ve done this myself and it’s more straightforward than you’d expect.
Crawl spaces are a bit trickier but still manageable. Laying down a vapor barrier (6-mil polyethylene sheeting) and insulating the rim joists with rigid foam board can make a noticeable difference in floor comfort and energy bills, especially in winter.
Switch to LED Lighting and Smart Power Strips
This one’s so simple it almost feels like cheating, but switching to LED bulbs is one of the highest-return eco home upgrades you can make. LEDs use about 75% less energy than incandescent bulbs and last 15 to 25 times longer. A single LED bulb can save you $5 to $10 per year in electricity costs compared to its incandescent equivalent.
Multiply that across every fixture in your home, most houses have 30 to 40 light sockets, and you’re looking at meaningful annual savings. Plus, LED prices have dropped dramatically. You can pick up multi-packs for a couple of bucks per bulb at most retailers now.
I’d also recommend grabbing a few smart power strips while you’re at it. “Phantom load” or “vampire power”, the energy electronics draw even when they’re turned off but still plugged in, accounts for roughly 5-10% of residential electricity use according to the Lawrence Berkeley National Laboratory. That’s not nothing.
Smart power strips detect when a device enters standby mode and cut power to it automatically. I have one behind my entertainment center and another at my desk. They cost $20 to $35 each and typically pay for themselves within a few months. It’s one of those “set it and forget it” upgrades that just quietly saves you money in the background.
Upgrade to Low-Flow Fixtures and Water-Saving Habits
Water conservation doesn’t get as much attention as energy efficiency, but it’s a huge part of making your home more sustainable, and it saves real money too.
The average American household uses about 300 gallons of water per day, and a big chunk of that goes straight down the drain through inefficient fixtures. Swapping out an old showerhead for a WaterSense-labeled low-flow model (which uses 2.0 gallons per minute or less, compared to 2.5+ for standard heads) can save a family of four around 2,700 gallons per year. That’s both water savings and energy savings, since you’re heating less water.
Low-flow faucet aerators are even cheaper, often under $5, and they screw right onto your existing faucets. I installed them in my kitchen and both bathrooms in about 15 minutes total. Honestly, I can’t tell the difference in water pressure during everyday use.
Toilet upgrades matter too. If you’re not ready to replace a toilet, a dual-flush conversion kit (around $20-$30) lets you choose between a light flush and a full flush. It’s a small behavioral shift that conserves thousands of gallons annually.
Beyond fixtures, simple habit changes help. Turning off the tap while brushing your teeth saves about 8 gallons per session. Running your dishwasher only when it’s full rather than half-loaded is another easy win. These things sound minor individually, but they stack up fast on your water bill.
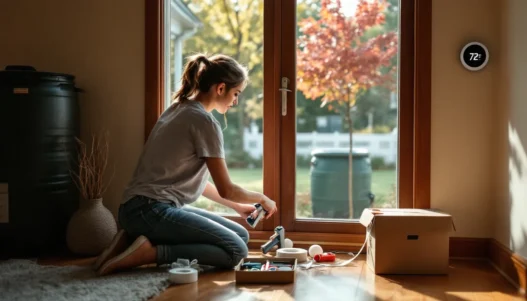
Install a Smart Thermostat for Year-Round Efficiency
If I had to pick one single upgrade that delivers the best bang for your buck, it might be a smart thermostat. The Nest Learning Thermostat, Ecobee, and several other models now retail for $100 to $250, and they can cut your heating and cooling bills by 10–15% per year.
That’s because most of us are terrible at manually adjusting our thermostats. We crank the heat up when we’re cold, forget to turn it down when we leave for work, and end up conditioning an empty house for hours. A smart thermostat learns your schedule and preferences, then adjusts automatically. Many models also use occupancy sensors and geofencing through your phone to know when you’re home or away.
I installed mine on a Saturday afternoon, took about 45 minutes, and I’m not particularly handy. Most come with step-by-step video guides and compatibility checkers on their websites.
What I appreciate most is the seasonal intelligence. My thermostat automatically shifts its behavior as outdoor temperatures change through the year. During spring and fall shoulder seasons, it takes advantage of milder conditions and runs the system less aggressively. In peak summer and winter, it optimizes start times so the house reaches a comfortable temperature right when I need it, rather than running constantly.
Many utility companies offer rebates on smart thermostats too, which can bring the effective cost down to $50 or less. It’s genuinely one of the smartest eco home upgrades on a budget that I’ve come across.
Affordable Kitchen and Laundry Swaps That Cut Waste
The kitchen and laundry room are two of the most resource-intensive areas in any home, so even small changes here tend to have an outsized impact.
Start with your laundry. Washing clothes in cold water instead of hot can save an average of $60 to $100 per year on water heating alone, and modern cold-water detergents clean just as effectively. I switched to cold wash about two years ago and haven’t looked back. My clothes actually seem to last longer too, since hot water is harder on fabrics.
Line-drying or using a drying rack for even a portion of your laundry reduces dryer energy use, the dryer is typically the second most energy-hungry appliance in a home after the HVAC system. I don’t line-dry everything (I’m realistic about my schedule), but towels and sheets on a rack in the spare room? Easy.
In the kitchen, consider swapping disposable products for reusable ones. Beeswax wraps instead of plastic wrap, cloth towels instead of paper towels, reusable silicone bags instead of zip-locks. These swaps have a small upfront cost but save money within months because you stop buying the disposable versions.
And here’s one people overlook: your fridge and freezer settings. The FDA recommends 37°F for the fridge and 0°F for the freezer. A lot of people have theirs set colder than necessary, which wastes energy. Grab an appliance thermometer ($5 or so) and check. Adjusting by just a couple of degrees can lower your fridge’s energy consumption by up to 25%.
Boost Your Home’s Green Factor With DIY Landscaping
Your yard and the area immediately around your house play a bigger role in energy efficiency than most people realize.
Strategically planted shade trees on the south and west sides of your home can reduce summer cooling costs by 15–35%, according to the USDA Forest Service. Obviously, trees take time to grow, but even fast-growing species like red maples or tulip poplars start providing meaningful shade within 3 to 5 years. And saplings are often available for free or very cheaply through local conservation districts and nonprofit tree-planting programs.
In the shorter term, planting shrubs or installing trellises with climbing vines near sun-facing walls creates a natural insulation layer. The vegetation shades the wall surface and the air pocket between plants and wall acts as a buffer against heat gain.
I’ve also been experimenting with replacing sections of my lawn with native ground covers and pollinator-friendly plants. They require less water, no fertilizer, and way less mowing, which means less gas or electricity for the mower. My water bill dropped noticeably the first summer I converted a large patch of lawn to native wildflowers.
Rain barrels are another affordable addition. Collecting rainwater for garden irrigation reduces your municipal water use and keeps stormwater from overwhelming local drainage systems. A basic 55-gallon rain barrel runs about $30 to $80, and in many regions, there are rebate programs that offset part of the cost.
How to Stack Rebates, Tax Credits, and Incentives in 2026
Here’s where things get really interesting. In 2026, there are more financial incentives available for eco home upgrades than at any point in recent memory, thanks largely to provisions in the Inflation Reduction Act and expanded state-level programs.
The federal Energy Efficient Home Improvement Credit (under Section 25C) allows homeowners to claim up to 30% of the cost of qualifying upgrades, insulation, exterior doors, windows, smart thermostats, and more, up to $1,200 per year. That’s a direct tax credit, not just a deduction, so it reduces your tax bill dollar for dollar.
Beyond federal credits, many states, cities, and utility companies offer their own rebates that can be stacked on top. For example, some utilities will give you a $50 to $100 rebate for a smart thermostat plus to the federal tax credit. Others subsidize insulation projects or offer discounted energy audits.
The DSIRE database (Database of State Incentives for Renewables & Efficiency) is the best free tool I’ve found for searching what’s available in your area. Just enter your zip code and it’ll pull up every federal, state, local, and utility incentive you might qualify for.
A few tips from my experience: keep all your receipts and product documentation, since you’ll need manufacturer certification statements for tax credits. File for rebates as soon as you complete a project, some programs have limited funding that runs out. And don’t forget to check whether your employer, HOA, or local government has any additional green incentive programs. I was surprised to find my county offered a small grant for rain barrels that I didn’t know about until I asked.
Stacking these incentives can reduce the effective cost of your eco upgrades by 30–50% or more. That turns already budget-friendly projects into borderline free ones.
Conclusion
Making your home greener doesn’t require a renovation budget or an engineering degree. It requires attention, noticing where the drafts come in, where the energy leaks out, where water runs longer than it needs to.
Every small upgrade I’ve made over the past few years has compounded. My energy bills are meaningfully lower than they were three years ago, and my home is more comfortable in every season. None of the individual projects cost more than a couple hundred dollars, and most were under $50.
The best part? You don’t have to do everything at once. Pick one or two upgrades from this list, tackle them this weekend, and see what happens to your next utility bill. I think you’ll be pleasantly surprised, and motivated to keep going.
If you found this helpful, I’d love for you to share it with someone who’s been thinking about making their home a little more sustainable. And drop a comment below, what’s the first eco home upgrade you’re planning to try?
This article is for general informational purposes and does not constitute professional advice. For home-specific guidance, consider consulting a certified energy auditor or licensed contractor.